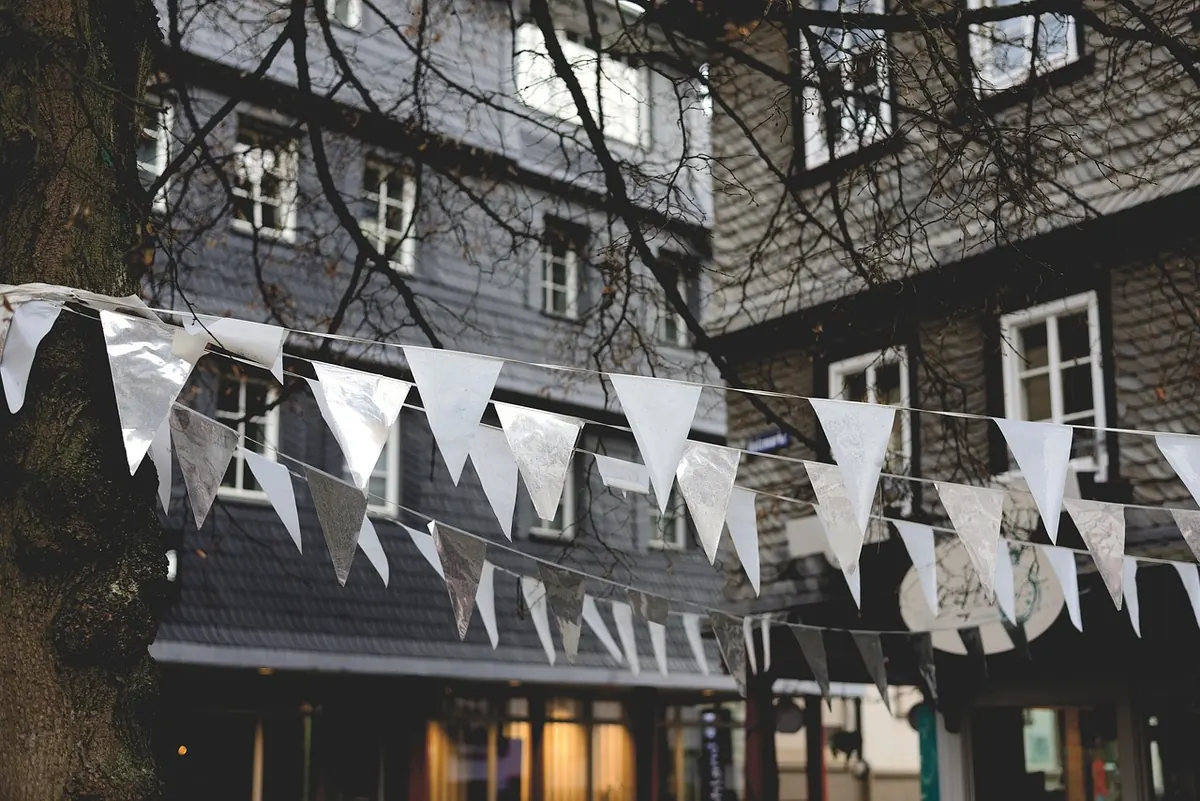
Some of the best bunting I have ever hung started as a blue work shirt with a frayed collar and a bedsheet that had gone thin in the middle. Nobody at the party noticed the wear. They noticed the colours, the mismatched prints, and the fact that the string looked like it had been made by hand rather than bought by the metre. That is the quiet appeal of upcycled bunting: it costs almost nothing, it keeps fabric out of the bin, and it always looks like it belongs to the occasion rather than to a shop display.
Not every tired garment deserves a second life as a flag. The fabric needs to hold a shape, take a stitch and survive being handled. Cotton shirting, poplin and quilting cotton are the easiest introductions to the craft: they press flat, cut cleanly and resist fraying for long enough to finish the job. Old sheets, especially cotton and poly-cotton percale, are the real workhorses. One double sheet yields a surprising run of triangles, and the long, uninterrupted panels mean far fewer seams to dodge.
Heavier cloth behaves differently. Denim and chambray make sturdy outdoor bunting that flutters with a satisfying weight, but you will want sharp shears and probably a fresh needle. Linen has beautiful drape and frays almost immediately, so either embrace the soft frayed edge or finish it. Wool suiting, blankets and heavy upholstery fabric are better suited to short swags over a fireplace or a table edge than to a long line strung across a garden.
Knitted jersey from t-shirts is the awkward one. It curls, it stretches and it refuses to hang straight. It can work if you fuse a lightweight interfacing to the back first, or cut two identical triangles and stitch them together with the right sides out, but it is not the fabric to learn on.
One caution before the scissors come out: check with anyone who might care about the garment. A shirt can be sentimental. If the answer is uncertain, cut a small square first and keep the rest.
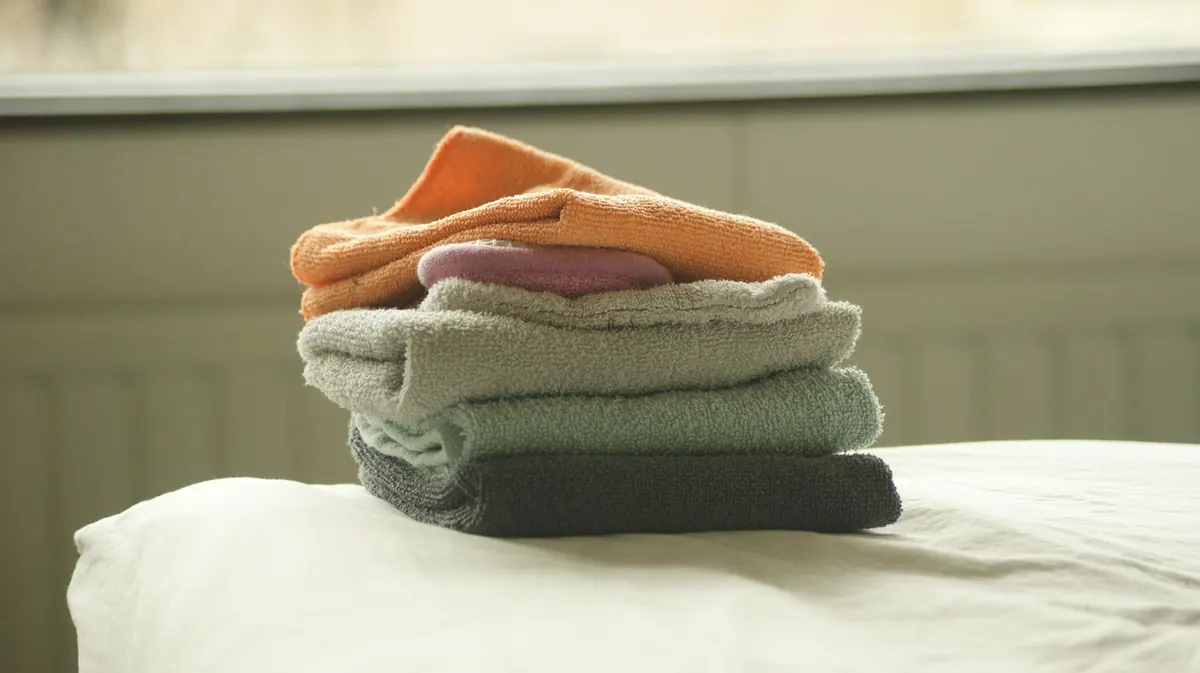
Wash everything once, on a hot enough cycle to deal with lingering smells, and skip the fabric softener. Softener leaves a residue that resists fusible interfacing, chalk and sometimes needle marks. Dry fully, then press flat while the fabric is still slightly warm. Creases that go in now come out as wobbly flags later.
Lay each garment out and think about it as a set of flat panels rather than a piece of clothing. A shirt gives you the back panel, two fronts and four sleeve sections once the seams are off. A fitted sheet gives you the flat centre; the elasticated corners and the hemmed edges go in the scrap bag. Duvet covers and flat sheets are simpler still, though you should trim away any worn-through patches or thinning areas where the fabric has gone translucent.
Seams are the main obstacle. Cut generously on either side of a seam, leaving a centimetre or so of clearance before you cut your flag shape, because stitching over a thick seam ridge causes puckering and a flag that refuses to lie flat. If a particularly nice panel is too small to fit a full triangle, trim it to a smaller pennant rather than stretching the shape.
The classic triangle is roughly 15 to 20cm across the top with a 20 to 22cm drop. That proportion reads well from a distance and looks generous without turning into a bedsheet-sized banner. Narrower, longer pennants give a more tailored, almost nautical feel; short wide triangles suit children's parties and garden lunches.
As a rough guide, a three-metre string takes around 14 to 18 flags with 10 to 15cm gaps between them. Cut a template from card or template plastic and trace around it with tailor's chalk, aligning the top edge with the grain of the fabric wherever you can. Bias-cut flags stretch and hang unevenly, so keep the straight grain running along the top edge. A rotary cutter and a self-healing mat make this much faster, but a sharp pair of dressmaking shears works perfectly well. Keep the offcuts; a bag of small triangles is a useful thing to have on a rainy afternoon.
Random is harder than it looks. The strings that work best follow a loose rule of three: one stripe or check, one small print, and one near-solid or softly textured fabric. Scale contrast does most of the heavy lifting, so pair a tiny floral with a bold wide stripe rather than two prints of similar density, which will fight each other from across the room.
Colour is the glue. Pick two or three colours from the busiest fabric and repeat them in the quieter ones, and you can happily mix florals, gingham and plain chambray in a single string. For rhythm, alternate light and dark, or print and plain, and avoid placing two high-volume patterns side by side. The most reliable method is to lay every cut triangle out on the floor first, rearrange a few times, and only then start stitching.
Bias binding tape, cotton twill tape and wide grosgrain ribbon all work. A zigzag stitch over the raw top edge is faster and looks pleasantly homemade. Fabric glue is fine for a single indoor afternoon but will not survive a season of wind and rain. If you are hanging bunting outside, choose a denser fabric and accept that cotton colours will soften in sunlight; that fading is part of the look.
Wash bunting in a mesh laundry bag or a pillowcase on a cool, gentle cycle and let it air dry. Iron from the back on a heat setting suitable for the most delicate fabric in the string, testing on an offcut first. Store it rolled around a cardboard tube rather than folded in a box, and it will come out ready to hang instead of creased and crumpled. Keep it out of the rain, and a good string will see you through several years of birthdays.
You do not need a full sheet, a sewing machine or a free weekend. One worn shirt will give you six or seven flags, which is enough to dress a doorway, a cake table or the back of a garden chair. Cut it up, iron the triangles, pin them to a length of ribbon and stitch. If it goes well, add a second shirt next week in a colour that talks to the first. That is how a mismatched, thrifty, entirely personal string of bunting gets built.
Photo: FotoRieth / Pixabay